Creating a Model with Coordinate or Area Data for Geospatial Analysis

Before you perform geospatial analysis in stories, you must first import coordinate data or area data, and enrich it in the Modeler. This process creates a new column in the data view with an enriched format of latitude and longitude coordinates or by area using country, region, and subregion data.

Prerequisites

You must use acquired data from supported sources such as SAP BW or a file (.xlsx or CSV). The data must contain a location ID column with unique data, as well as either latitude and longitude columns, or country (required if your regions and subregions are in different countries), region, and subregion columns.

Context

These steps describe how to enrich coordinate or area data while creating a model from a file. You can also enrich coordinate or area data while uploading data to an existing model. For more information, see Combine Data with Your Acquired Data.

Procedure

  1. From the () Main Menu, select Start of the navigation path Create Next navigation step  ModelEnd of the navigation path.
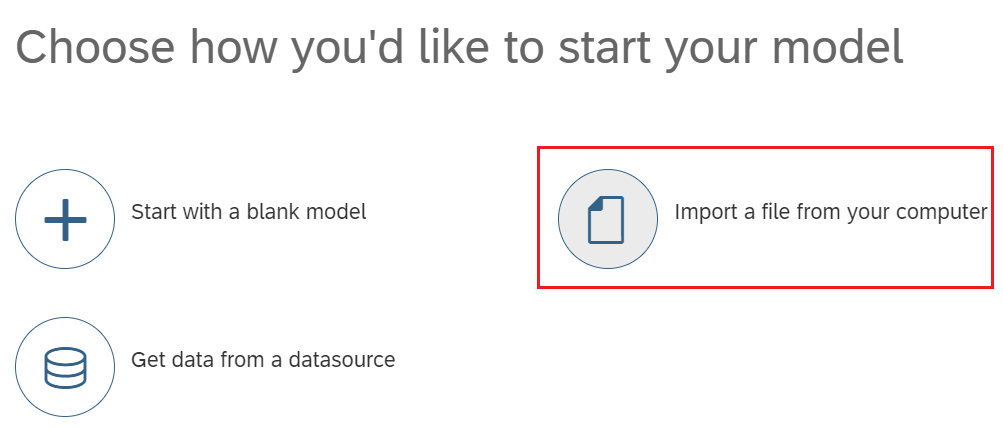
  2. Select Import a file from your computer.
  3. In the Import Model From File dialog, choose whether you want to import data from a file on your local system, or from a file server.
    If you don't see the option to import data from a file server, see Allow Data Import and Model Export with a File Server.
    Tip
    If you import a file from a file server, you can also schedule imports from that file. For more information, see Update and Schedule Models.
  4. If you're importing from a file server, choose a file server connection, or select Create New Connection.
    If you create a new file server connection, specify the path to the folder where the data files are located. For example: C:\folder1\folder2 or \\servername\volume\path or /mnt/abc.
  5. Choose the file you want to import.
  6. If you are importing from a local Excel workbook containing multiple sheets, select the Sheet you want to import.
    If you are importing from an Excel file on a file server, the first sheet is automatically imported.
  7. If you're importing a .csv file, select which delimiter is used in the file.
  8. Select Import.
    For small data files, the data is imported and displayed in the Data Integration view, which shows the imported data columns that you'll define as dimensions, measures, and attributes.
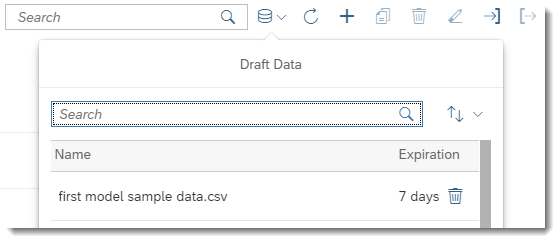
  9. Larger data files may take some time to upload. You can work on other tasks while the dataset is being uploaded in the background. When the data is finished uploading, select it from the Draft Data list to open it in the Data Integration view.
  10. Ensure that at least one numeric column has Measure as its dimension type.
  11. Select (Geo Enrichment) in the toolbar, and then choose either of the following options:
    • By Coordinates if you want to use latitude and longitude data to create the location dimension.
    • By Area Name if you want to create the location dimension based on country, region, and subregion data. The country data can be imported as ISO3 and ISO2 codes, or the country names in English.
      Note
      To download a list of supported area names, use the link provided in the Geo Enrichment By Area Name dialog.
  12. Specify the following information:
    • By Coordinates:
      • Dimension Name: Type a name for the dimension that you will create using the geo enrich process.
      • Location Description: Select the column that will provide the tooltip text for dimension members displayed in a geo map.
      • Location ID: Select the dimension you want to associate with the new location dimension. Select a dimension with a unique location ID.

        Note
        You can create a location for the Dimension ID column of an organization or generic dimension. You cannot create a location dimension associated with Account, Version or Date dimensions.
      • Latitude: Select the column that contains the latitude coordinate.
      • Longitude: Select the column that contains the longitude coordinate.
        Note
        When specifying coordinates, SAP Analytics Cloud only supports the decimal degrees format (with the degree symbol omitted). For example: A latitude of 38.8897 and a longitude of -77.0089.
    • By Area Name

      Choose how you want to specify the country data:

      • Select Column: if you want to select the column containing the country data.
      • Select Country: if you want to select a specific country from a dropdown list.
        Note
        If you select a country from the list, after the data is geo-enriched, it will be limited to areas within the selected country.
  13. Select Create.
    A new column is created for the location dimension. Any data quality issues are displayed in the Details panel.

Results

When working with stories, the location dimension will be available to add to geo maps.
Note
In your geo maps, use the choropleth/drill layer to navigate through location dimensions enriched By Area Name.

Next Steps

Continue with the data preparation task before completing your model: Combine Data with Your Acquired Data.