Create a Model from a File
You can create a model using personal files as a data source.
Context
The data is analyzed first so that the application can suggest dimensions for the model you want to create. You can then refine the suggestions by specifying dimension types and fixing any data-quality problems.
- Import a source file.
- Choose dimension types for the dimensions in your new model.
- Specify attributes for the dimensions.
- Cleanse your data and fix any mapping or data quality problems.
Data files can be in your local file system or in your network. The source data can be an Excel spreadsheet (.xlsx) or a delimited text file (.csv or .txt). If you import data from Microsoft Excel, and if the data is saved in separate sheets in the Excel workbook, either you can choose which sheet to import (if from a local file system) or the first sheet is automatically imported (from a network file).
The source data must include columns that can be used to create dimensions in a new model, and it must also include transactional data (measures). The transactional data is visible in the Data Foundation view, which shows you the fact table containing the raw, unaggregated transactional data loaded into your model. For details, see Learn About the Modeler.
The data will typically include details for the main account. You can identify which dimension is the main account during the import process, but if no account data is found, an account dimension will be generated automatically.
In addition to the main dimensions and transactional data, the source can also include attributes for dimensions; that is, text information such as hierarchy information or other properties.
Procedure
-
From the
 Modeler
start page, select From a CSV or Excel File.
Modeler
start page, select From a CSV or Excel File.
-
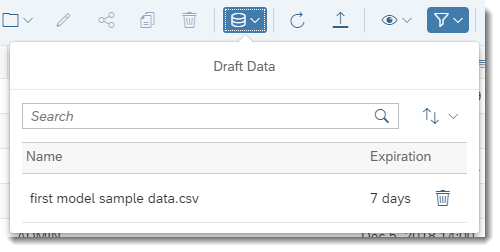
Once the data upload is complete, select it from the Draft Data list
to open it in the data integration view.
Next Steps
Video: How to Create Models from Files
Open this video in a new window
In this video, you will create a model based on a file, review data wrangling and transformation options available, validate the data, and review the options available to edit and enhance saved models.
After the initial import of raw data, continue with the data preparation task before completing your model. See Import and Prepare Fact Data for a Classic Account Model, and Import and Prepare Fact Data for a Model with Measures.